
Is your piano in need of a little TLC? Just because it’s showing some signs of wear and tear doesn’t necessarily mean you need to replace the whole thing. Not only can a DIY piano makeover save you money and improve the look of your instrument – it can also breathe new life into your whole home.
If your piano is a family heirloom or a valuable antique, it might be safest to turn to a professional. But if your instrument plays well and just needs a little love, there’s a lot you can do yourself to spruce it up.
Keep reading to learn how to update your old piano!
Prepare Your Piano for Refinishing
It’s easy to get excited and jump directly into sanding or painting your piano before it’s been properly cleaned and prepped. But the first part of any successful piano restoration is preparation, and you’ll be much happier with the finished product if you take the time to get it ready first.
Step 1: Disassemble your piano
Begin by carefully removing the panels using a screwdriver or power drill. In most cases, you’ll start with the top panel. Be sure to save all the screws, hinges, latches, and other hardware so you can reassemble the piano when you’re done. You may want to consider using small sandwich bags with labels to help you keep track of what goes where.
Step 2: Clean your instrument
Pianos are notorious for collecting dust. Even if you clean your piano regularly, you’ll still want to go over it with soapy water and a gentle rag or sponge. Don’t forget to wipe down the panels as well.
Step 3: Cover the keys and soundboard
It’s important to protect your instrument’s keys and soundboard during the piano refinishing process. Cover them as well as possible using masking tape and sturdy paper or a drop cloth.
Step 4: Sand and/or strip your piano’s surfaces
If you’re planning on staining your piano, you’ll want to thoroughly sand its surfaces to remove the existing finish and create a blank slate to apply the stain. Depending on your piano, you may need to use stripper on ornate or hard-to-reach places. Though you won’t need to be as thorough, it’s still a good idea to go over your piano with sandpaper if you’re planning on painting it.
Choose a Finish
Once you’ve prepped your piano, it’s time to decide how you want it to look. Different types of piano finishes produce different results, and the one you choose will determine the appearance of your piano as well as how it looks with the other furnishings in your home.
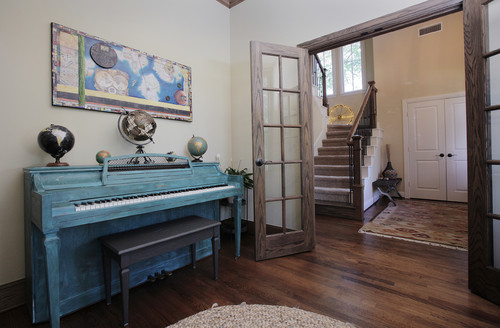
Add a fresh coat of paint to give your piano new life.
The most versatile and simplest way to revamp your old, outdated, or chipped/scratched piano is to paint it! Regardless of your instrument’s condition, a fresh coat of paint can give it a whole new look! When painting a piano, the sky’s the limit! From simple white, gray, or brown, to fire-engine red or bold yellow, you can transform your tired instrument into a gorgeous centerpiece in your home.
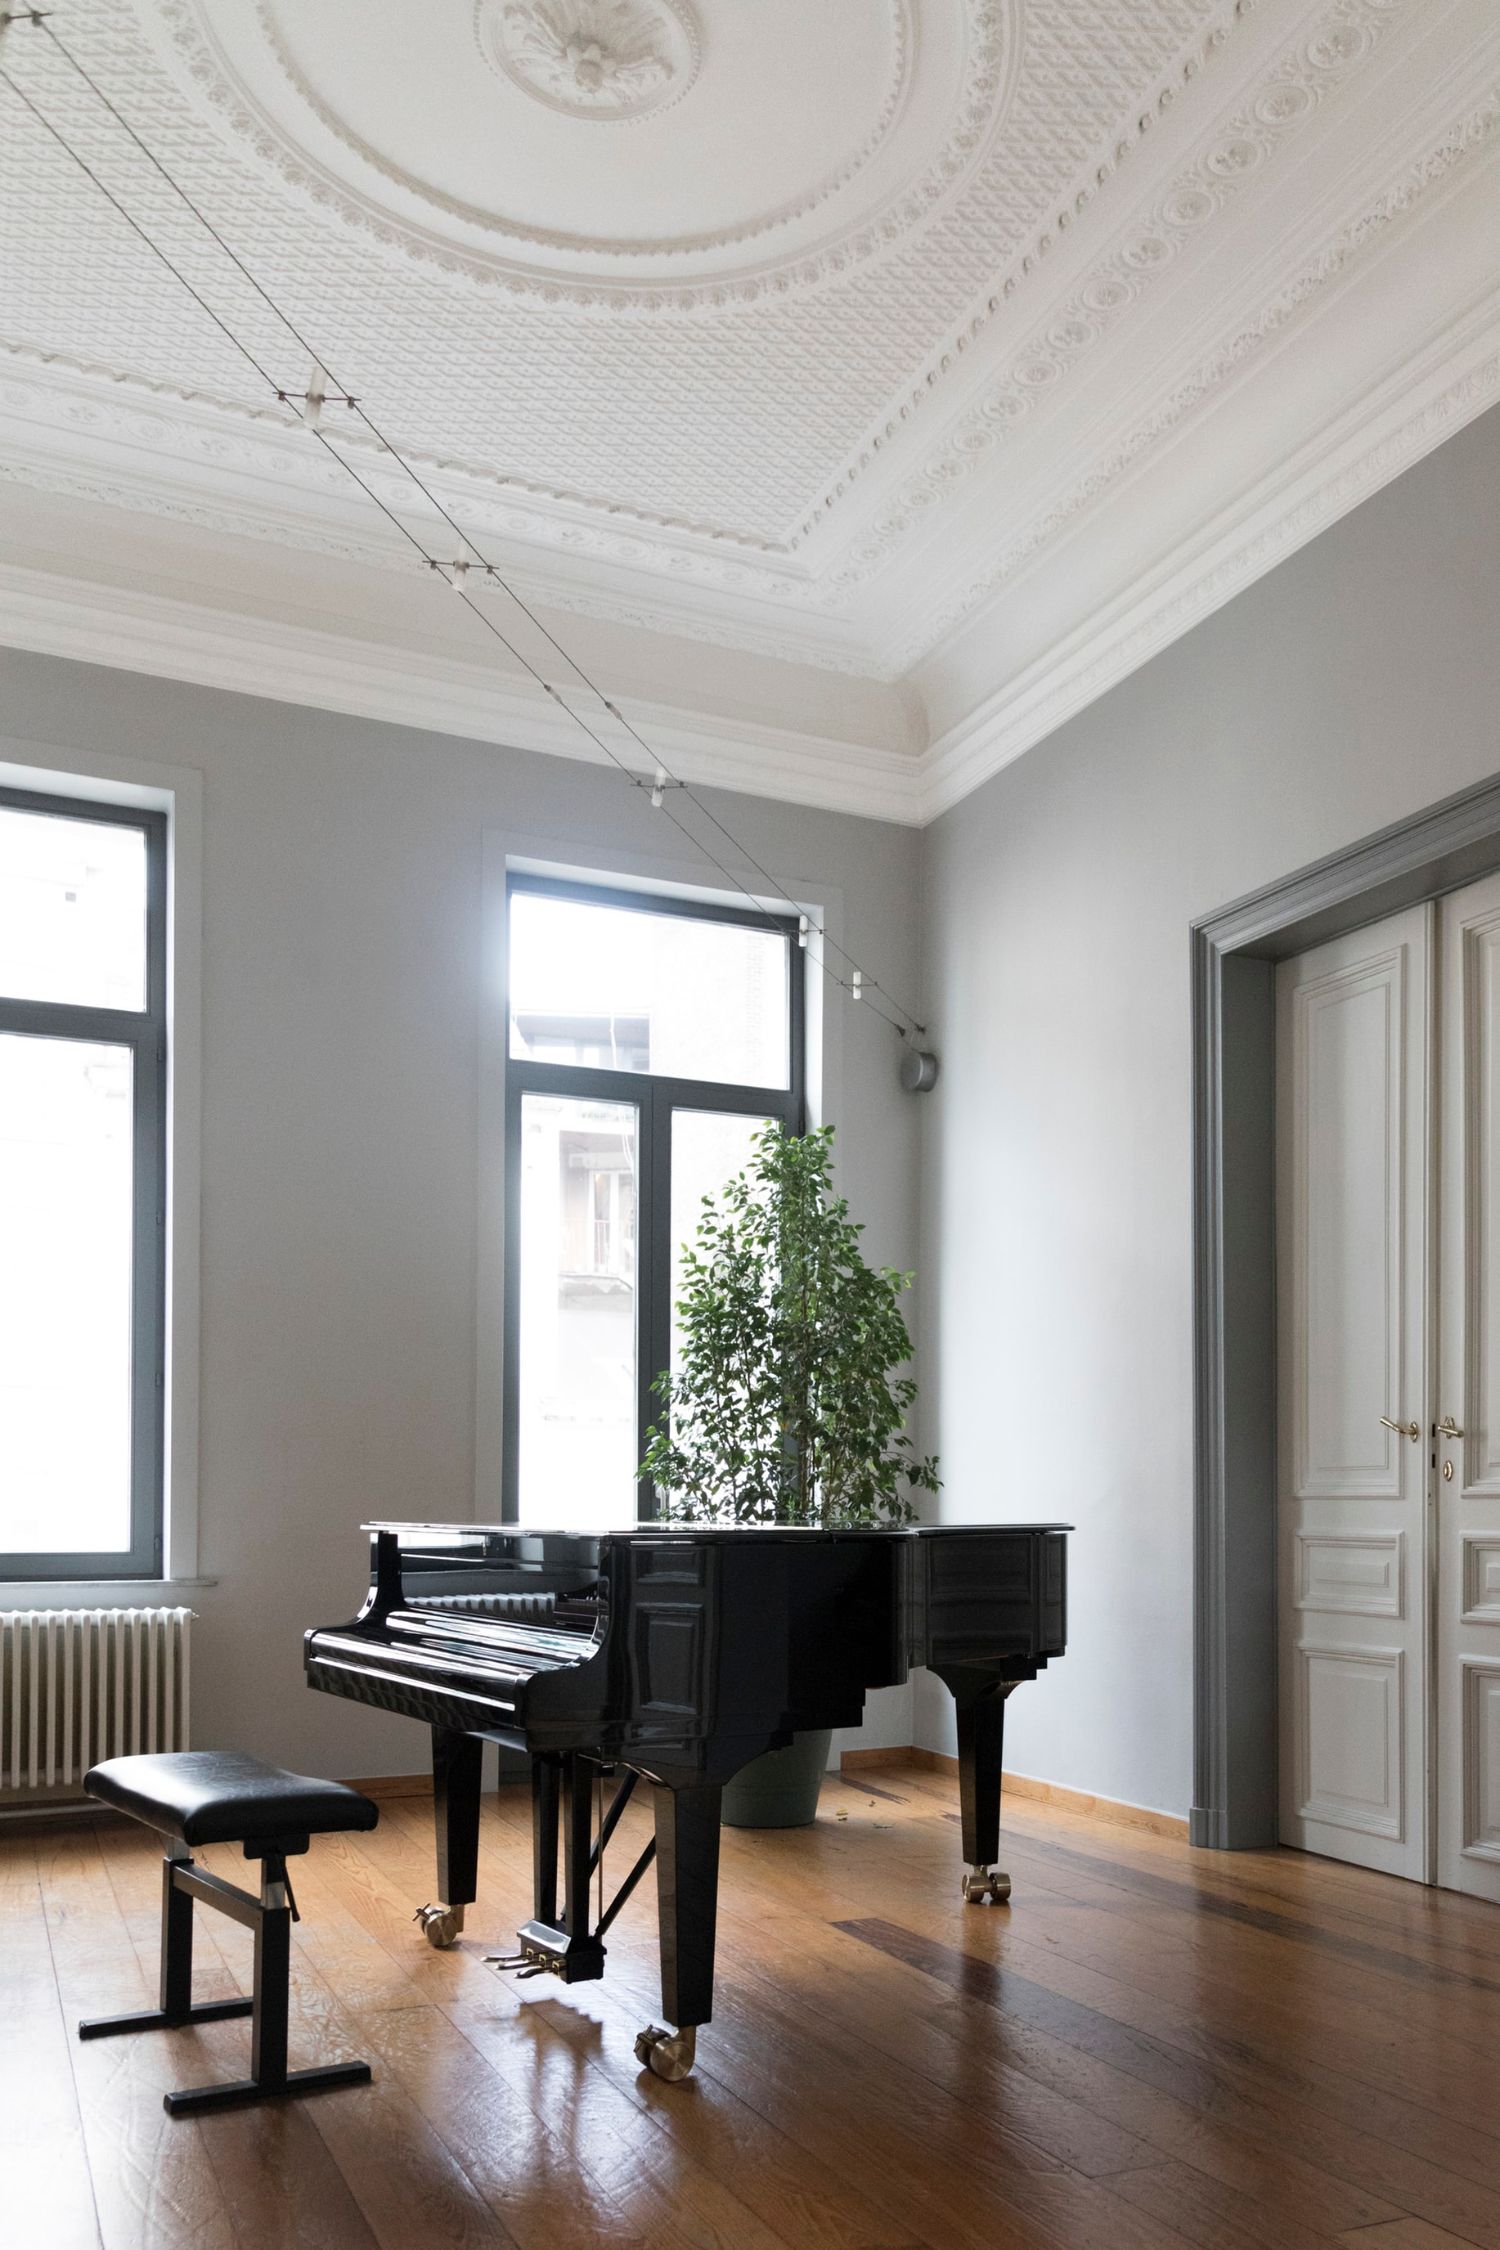
Refinish your piano with black lacquer for an elegant look.
Do you love the timeless look of a shiny, polished black piano? It looks expensive, but you can actually achieve this high-gloss finish with several coats of black lacquer.
It’s traditional to either spray or hand-rub the lacquer onto the piano, although there are products that can be painted on with a brush. Whatever method you choose, the key is to take your time and apply several thin layers rather than one thick coat. This minimizes the possibility of bumps or unevenness.
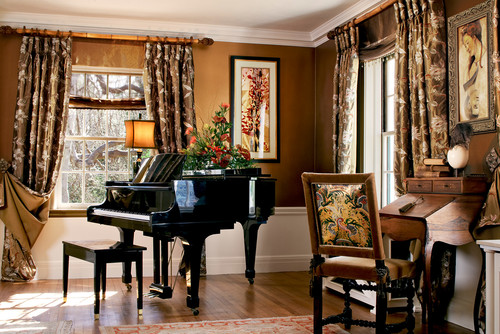
Spruce up your instrument by applying a stain.
If you love the traditional look of a wooden piano and you just can’t bring yourself to paint over the natural grain, you can still give your old piano a new finish by staining it.
Your options are nearly endless when it comes to choosing a stain, and this gives you the chance to consider how you want your piano to look in your space. A rich mahogany or walnut stain can add elegance to a traditional or craftsman-style home, while a stain with a white, gray, blue, or red undertone can add dimension and charm to a non-traditional space.
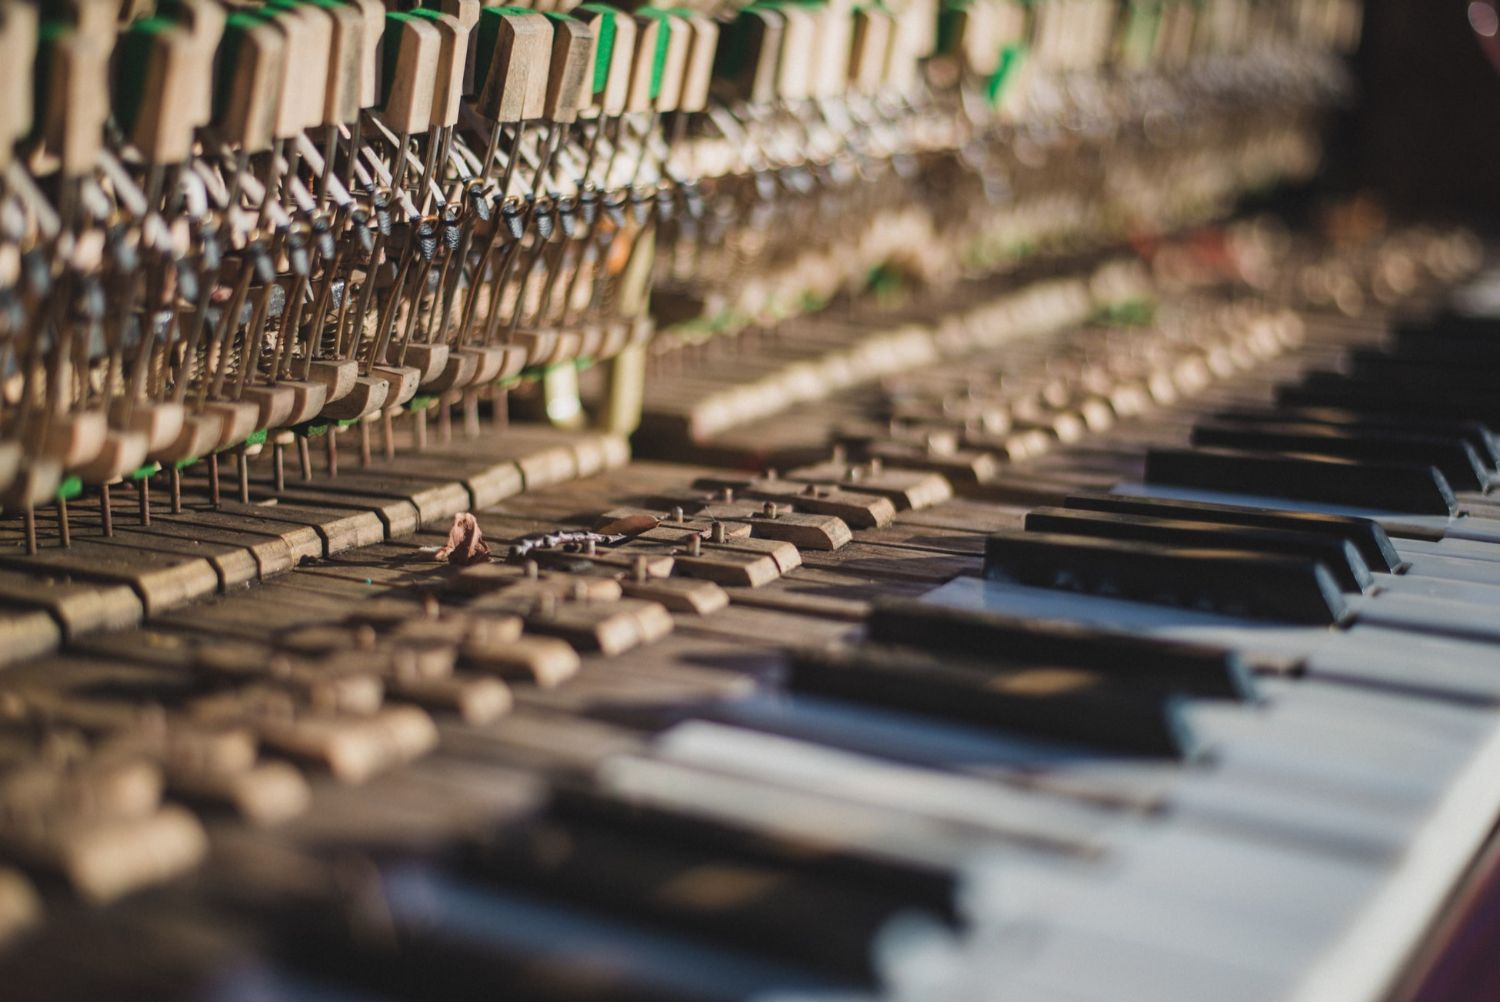
The Final Touches: Tuning Your Piano and Refinishing Its Keys
Once you’ve refinished your piano, it’s the perfect time to check the state of its keys and see if it needs retuning. If you don’t know exactly what you’re doing, it’s probably best to hire a professional tuner, but refinishing piano keys is a bit simpler. Unless the keys are in bad shape, you can probably get away with cleaning and whitening them yourself.

For plastic keys, use a chamois cloth with a small amount of warm water mixed with dish soap or vinegar. Just be sure you don’t let any moisture seep down the sides of your instrument’s keys. Ivory keys can be cleaned very carefully, one at a time, with a fine steel wool pad.
Understanding how to care for your piano long-term will keep your instrument looking and sounding great for years to come.
West Coast Piano Moving and Storage
Is your DIY piano restoration part of a bigger move or remodeling project? At West Coast Piano Moving and Storage, we specialize in making sure your piano reaches its new home safely. We can also store your instrument in our climate-controlled facility until it’s ready to move.
Contact us today with any questions or to get a free quote on moving or storing your piano.